How to use Hopper - Tips and Tricks
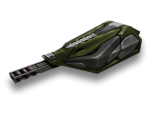
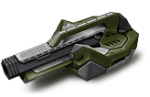
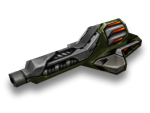
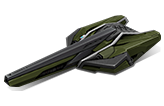
Following the release of the first-ever floating hull, Ares, a new hull with similar hovering characteristics has been released, called Hopper. This hull is classified as a light hull and has some similarities with the other light hulls (Wasp and Hornet), but it is also vastly different in most regards. In this article, we will be having an in-depth look at this new hull, learning a few tips and tricks on how to use it effectively, and uncovering a few interesting facts you might not know about it. Enjoy reading!
Basics~
As mentioned before, Hopper has a few characteristics that make it similar to other hulls, but also some huge differences that make playing with it a completely unique experience. Let’s start by talking about the similarities.
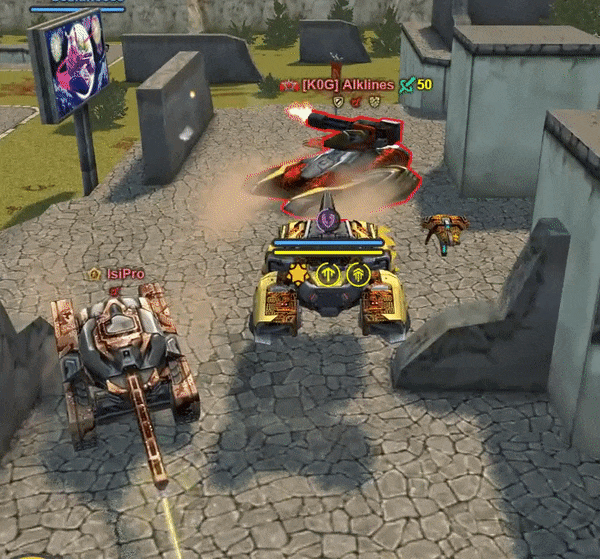
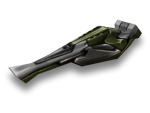
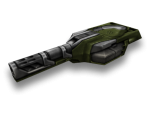
For starters, this hull is fairly quick, being roughly the same speed as Hornet. With this speed, however, comes a few drawbacks. Like other light hulls, Hopper does not possess a high amount of hitpoints, making it easier to eliminate than the majority of the other hulls. Additionally, the pace of this hull can be hard to control at various times, so it requires precise and skillful movement to navigate through the diverse terrain several maps have. This hull doesn’t just have similarities with light hulls, however. Hopper is the second hull in the growing list of hovering tanks, and thus, somewhat closely resembles Ares’s mechanics. Just like Ares, it is nearly impossible to flip with Hopper, and it can also drive over shorter terrain (edges of walls, other hulls, etc.).
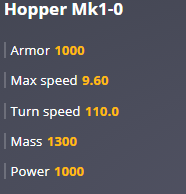
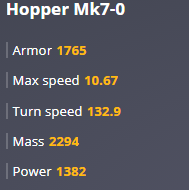
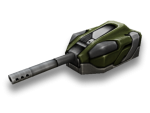
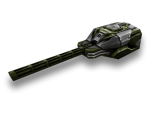
Hopper's Statistics
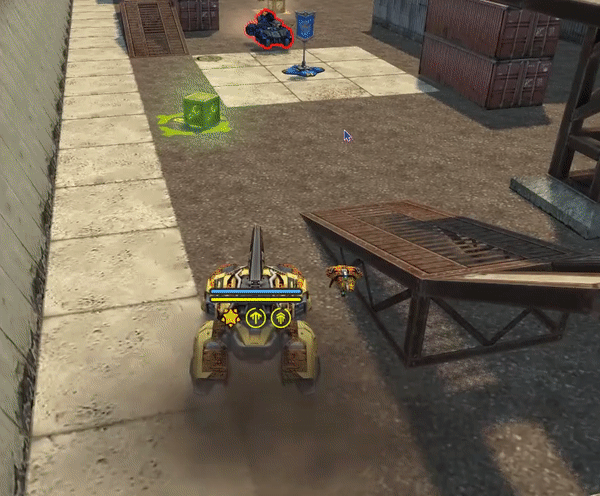
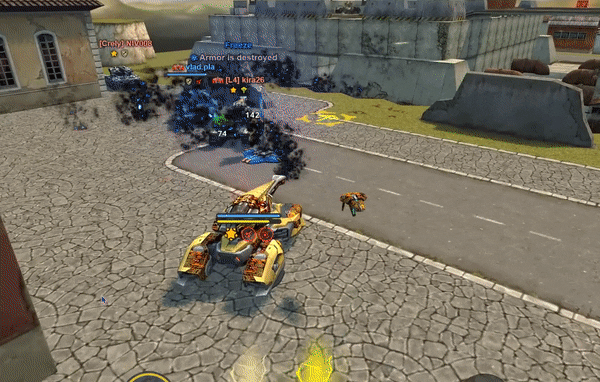
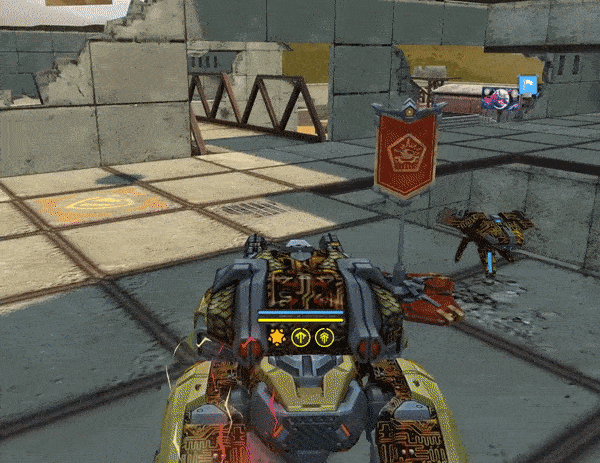
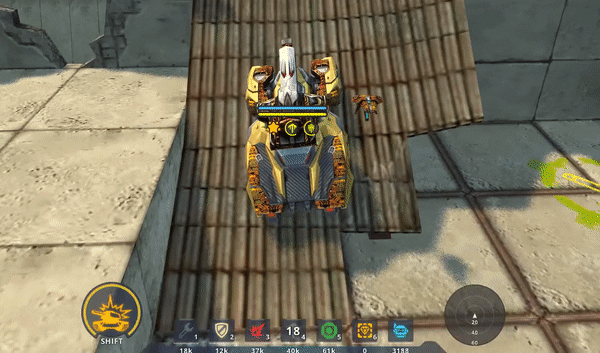
Besides the above similarities though, Hopper is quite different from other hulls. It has a unique Overdrive just like other hulls (more about this particular mechanic later on in the article), which in brief, enables the hull to jump a large distance into the air, while also stunning and engulfing nearby tanks in flames. Additionally, this hull causes the anti-cheat system to turn off to allow the mechanics of its Overdrive, so it is possible to go into and on top of areas that typical hulls aren’t allowed to enter (corners of out-of-bounds zones, houses, holes/pits, etc.). If you’re an eager and skilled parkourist, you can exclusively jump onto buildings with this hull, and even engage in fights from those areas. Lastly, since this hull is both hovering and pretty fast, drifting around corners is a much different experience than it is with other fast light hulls, and it takes a good amount of skill to refrain from falling off the map or falling down from a high area while driving.
Hopper's Overdrive~
Just like all other hulls, Hopper has a unique Overdrive that can be used in various situations for tactical purposes, as well as for entertainment. This particular Overdrive allows the user to leap a large distance into the air, while both stunning and catching nearby opponents on fire. This Overdrive can be used in several scenarios, so let's review a few!
Uses of Hopper's Overdrive
1) You can use Hopper's Overdrive to deactivate Hunter's Overdrive, whilst stunning your opponent:
2) You can easily stop your opponent(s)'s attempts at capturing a flag or a Rugby ball by stunning their tank (causing them to drop it):
Defending Against Hopper's Overdrive
1) Equipping the Heat Immunity Augment will prevent you from getting burn damage from Hopper's Overdrive (you can also evade damage from burning if your Spawn Protection is active while being affected by an opposing Hopper's Overdrive):
2) Using the Stun Immunity Augment can prevent your tank from being immobilized, avoiding a flag or a Rugby ball from getting dropped:
Important Facts about Hopper's Overdrive
- Hopper's Overdrive stuns opponents for 4 seconds.
- The opponents caught on fire by Hopper's Overdrive keeps burning for 10 seconds.
- Hopper's Overdrive takes a total of 1:40 (100 seconds) to charge from start to finish if you don't kill anyone, capture flags, etc.
- Wasp's bomb is not disabled by Hopper's Overdrive.
- Titan's protective shield is not disabled by Hopper's Overdrive.

Ways of Charging Hopper's Overdrive
- Capturing a Flag - 53% of the Overdrive is charged.
- Assisting a Flag Capture - 23% of the Overdrive is charged.
- Scoring a Goal in Rugby - 53% of the Overdrive is charged.
- Assisting a Goal in Rugby - 15% of the Overdrive is charged.
- Healing Teammates with Isida - 1% of the Overdrive is charged per tick of healing.
- Killing an Opponent - 10% of the Overdrive is charged.
- Assisting with Killing an Opponent - 7% of the Overdrive is charged.
- Capturing a Point in Siege - 35% of the Overdrive is charged.
- Assisting with Capturing a Point in Siege - 9% of the Overdrive is charged.
- Capturing a Point in Control Points - 10% of the Overdrive is charged.
- Assisting with Capturing a Point in Control Points - 7% of the Overdrive is charged.
- Capturing a Flag in Assault - 35% of the Overdrive is charged.
- Killing a Juggernaut - 50% of the Overdrive is charged.
- Assisting with Killing a Juggernaut - 20% of the Overdrive is charged.
Tips and Tricks~
Mastering this hull takes a bit of experience to do, but it’s fairly simple to learn. If you’re not used to using light hulls, or you don’t know how to keep the drifting of the floating hulls under control, this is the first thing you need to learn. I’d suggest creating a private battle in a map like Rio MM or Silence MM that has a wide array of props, ramps, and areas to try not to fall off, and just practice driving around turns and avoid hitting obstacles, while also refraining from falling off of high areas. After just a few minutes of going through this type of “obstacle course,” you should be pretty familiar with how to control a light hull’s speed, and also know the limitations and opportunities of floating hulls.
After you’ve mastered how to navigate a map with Hopper, it’s time to choose a turret perfect for your gameplay. Let’s list a few good choices!
- Firebird - This turret does quite a bit of damage, and since Hopper has a fast rate of speed, you can easily race towards your opponent, light them on fire (if you’re not using the “Incendiary Mix” Augment), run away with the opponent’s flag, and eliminate the defenders on your way back to your base. Additionally, the only reason some people shielded away from using Firebird with a light hull in the past is that if you flip over, you can un-flip yourself, but fortunately, Hopper almost never flips, so you won’t have this annoyance to deal with. Lots of people use Firebird with other light hulls, so I don’t see any reason why Firebird wouldn’t be a good choice with Hopper too.
- Freeze - Freeze is another popular choice amongst users of light hulls. This turret is similar to Firebird being a short-range turret, but this one allows you to freeze, instead of burning, your opponent (unless you’re using the “Corrosive Mix” Augment), which can help prevent opponents from chasing or eliminating you, or both. This is a great choice if you’re a very aggressive "Capture the Flag" player, and won’t disappoint.
- Hammer - Short-range combat is highly possible when using a light hull, and being that Hammer is arguably the best turret for this type of combat, it’s a great choice. Not much more to say; it’s just a great turret for the combat type most closely paired with light hulls.
- Thunder - This is a great turret for parkourists who use this hull, as they are highly likely to be seen on top of buildings with this turret. While you’re on top of buildings though, it’s nearly impossible to use short-range turrets for combat, so a medium or long-range turret would be an excellent choice, and Thunder doesn’t disappoint when used for this purpose.
- Ricochet - Another great turret for people who want to be on buildings all the time, but even for those that prefer traditional, ground-level combat. I’d suggest equipping the “Minus-field stabilization” Augment when using this turret, that way you can take your fights at a distance, as Ricochet is only mediocre at close-range combat.
- Smoky - This wouldn’t be my top pick as I typically like operating turrets that deal a large amount of damage when on a light hull, but it does enough damage that you could make it work. I’d stay away from equipping the “Auto Cannon” Augment though, as it drastically decreases the amount of damage your turret inflicts (which is the same reason why Twins isn’t on this list).
- Gauss - Out of the turrets listed, this is the one I would most likely choose to use. The charged shot deals a devastating amount of damage to players, and the quick-fired shots are not too bad either. I don’t like taking close-range fights, and I can avoid those by using this turret. If you are lucky enough to have the “Electromagnetic Salvo” Augment, using it with Hopper will make you almost undefeatable.
- Railgun - As long as you avoid close-range combat at all costs, you could definitely run this Augment and do well. The amount of damage you can deal is pretty good, and it’s even possible to one-shot opponents, which is a huge plus. I can’t stress this is enough to you though, you almost guaranteed will lose a fight at close quarters if you take it, as Railgun isn’t intended for this purpose, so steer clear of it completely.
Now that you’ve chosen which turret you want to play with, it’s about time to hop into a battle (no pun intended), and start slaying your enemies. When it comes to gameplay, you will always want to keep a close eye on your health bar, and only engage in close range fights or attempt to pull a flag/Rugby ball if you are above half health (to ensure you aren’t eliminated). If possible, I’d suggest attacking your opponents’ base at full health, pull the flag in a quick manner, and use your overdrive to escape (especially if you’re close to an opponent trying to engage in close range combat); doing so can result in easy captures, allowing you to turn the tides of your battles at basically any point in time.
Be mindful that your Overdrive stuns (causes people to stop moving) and catches enemies on fire within a short duration of where you use it, so if there’s someone that could be a potential threat to your attempt at capturing, you can use your Overdrive to stop them for a decently long period of time.
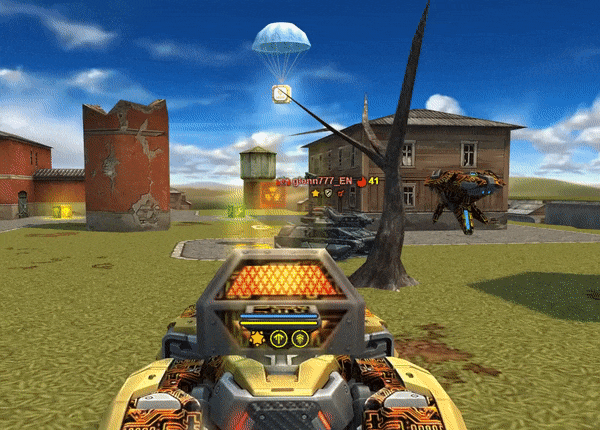
Besides completing the main objective of the mode you are playing in, you can also take Gold boxes, Supply boxes, or Nuclear Overdrive boxes by using your Overdrive within a short while after the box starts dropping, to take it before your opponents have the opportunity.
Other Uses for Hopper~
Just like the wide variety of other hulls, you can use Hopper in various different ways other than the standard MatchMaking. Let's review a few things you can use this hull for!
XP/BP
No, you didn't read that incorrectly; Hopper can be used in XP/BP! XP/BP involves all light hulls, and being that Hopper is a light hull, it is permitted to use this hull in this mode. Because of the unique mechanics of Hopper, it is a great option for XP/BP enthusiasts that flip over with Wasp or Hornet a lot, as this hull rarely flips. It is important to note, however, that Hopper isn't allowed in XP/BP eSports tournaments.
Parkour
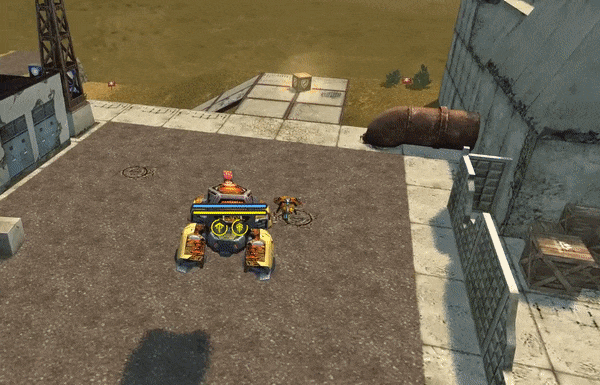
Like both other light hulls, Hopper can be extremely useful for parkour. Its Overdrive can be used in various situations, be it helping a friendly tanker get on top of a house, or doing so all alone as a One Man Parkour (OMP). The only true limit to Hopper's uses in the Parkour format is your imagination, so create a Parkour battle, test the limits of Hopper and its Overdrive, and you can get parkouring in no-time!
Well, that's the end of this article. I hope this article helped you to better understand the possibilities and limitations of the new Hopper hull, and I look forward to seeing you using the techniques explained in this guide in Match Making battles!
If you have any further questions, feel free to ask them in the comments section down below!
Customer support service by UserEcho