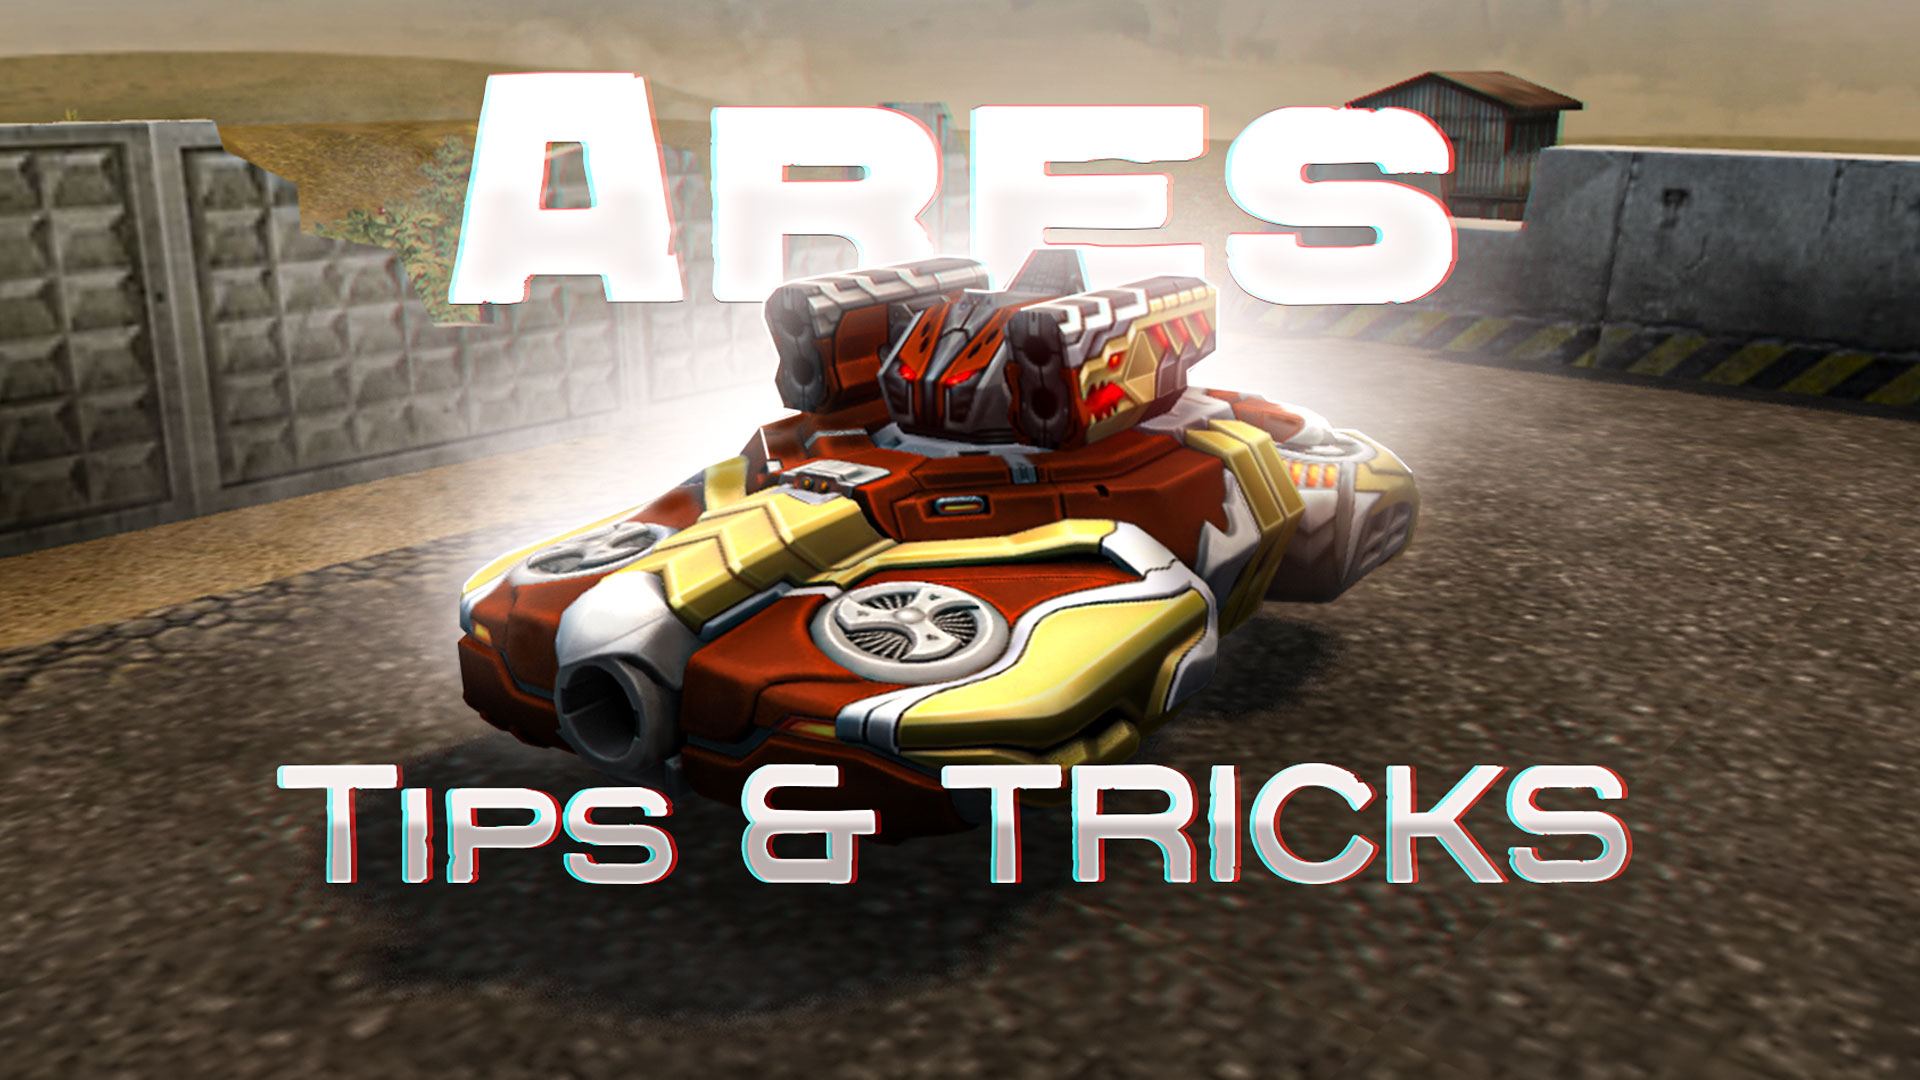
How to use Ares (Tips and Tricks)
After a decade of having the same seven hulls (and no, we aren't joking when we say it's been 10 years since the latest hull was added), a new hull has finally been released, and it is vastly different from the others in many ways. In this article, we will be discussing the similarities and differences between the new hull 'Ares' and the other old hulls that are available in the game, as well as discussing the hull's unique Overdrive, a few tips and tricks on how to play effectively with this hull, and other useful information. Enjoy reading!
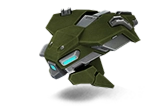
Basics~
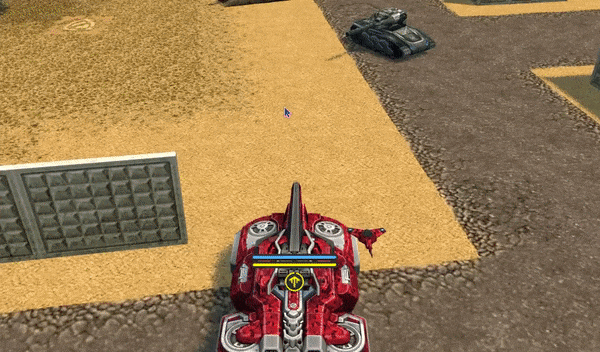
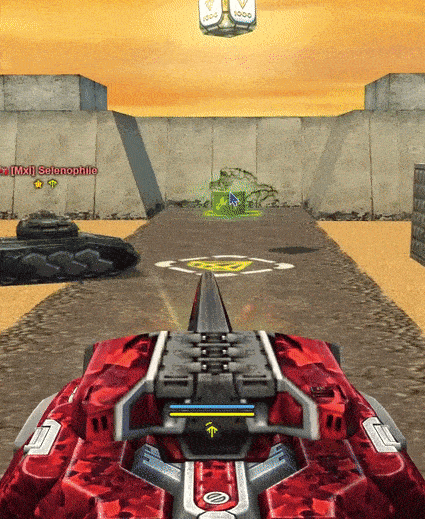
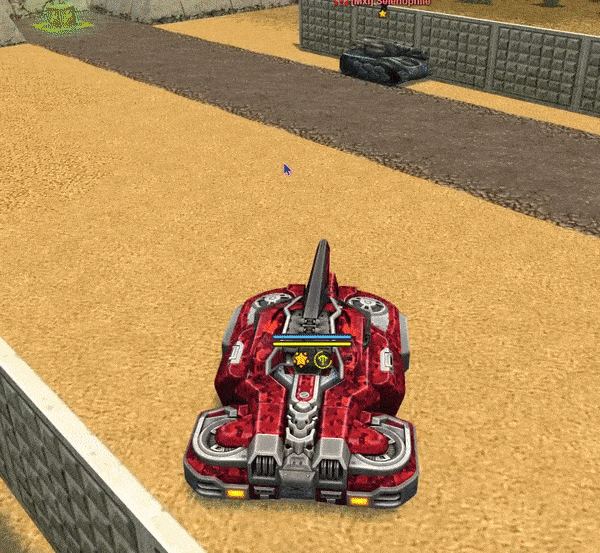
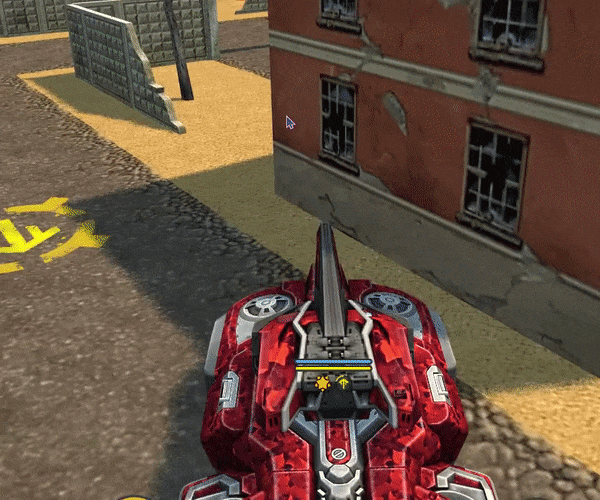
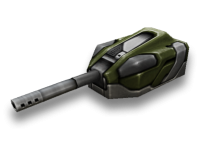
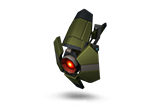
This tank is the first-ever hovering hull, meaning it never touches the ground (except in the occurrence that it is flipped over, stunned by electricity, or the battle is over), and because of this, the user rarely flips over, and low-lying props, such as the edges of bridges as well as shorter tanks like Wasp, Hornet, and Viking, are not much of an obstacle (Ares users can drive over the top of them with ease), and the recoil the tank has from shots (both from opponents, as well as the user) is significantly lower than the other hulls.
This hull is classified as a heavy hull (similar to both Titan and Mammoth) due to the weight, health points (HP), and speed of the tank. Ares is actually the fastest heavy hull, however, with a speed of 5.40 m/s at the initial Mk1 modification level. It reaches a maximum speed of 7.00 m/s with full upgrades in its Mk7 version, which significantly beats out the previous fastest heavy hull, Titan, by a landslide. Due to its speed to HP ratio, and having the same HP when maxed out as both Titan and Mammoth but with a much faster speed, it is likely that this hull will soon become very popular amongst users of heavy hulls, and maybe even medium hull users alike.
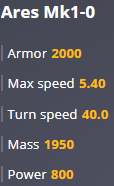
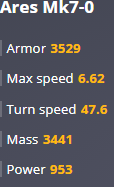
Ares statistics
Additionally, just like every other hull, Ares allows users to purchase and equip the same 'Universal Hull Augments' that are available for the other hulls (you can find information about such Augments in this article).
Overdrive~
Just like every other hull, Ares has a unique Overdrive, with its own special characteristics. Ares's Overdrive is specifically called "BFG", which is actually a distinctive word for the large ball of plasma that is fired when the Overdrive is activated. This plasma ball is almost the same size as a Ricochet's shot, but it travels at a much slower speed, roughly the same speed as a Striker's rocket with the 'Uranium' Augment equipped. And when the plasma ball is within the striking distance of an enemy player, it deals a consistent 500 damage per damage tick, allowing a quick elimination of the opponent.
When the shot hits into a surface (a tank, wall, or another BFG from a different Ares user), it deals a high amount of damage, with an added splash damage effect with a radius similar to a EMP (charged) shot from a Gauss equipped with the 'Electromagnetic Salvo' Augment. Players directly next to the site of impact will almost definitely be eliminated (unless they are inside of a Titan dome that they or their teammate have placed, or they have the 'Lifeguard' drone).
Moreover, the plasma ball also heals the user and other teammates at the same distance as it does damage from, at roughly the same rate as an Isida with the 'Support Nanobots' Augment equipped. If used well, such as in modes like Siege and Control Points, as that will ensure your teammates are within tight quarters of one another, you can be a true team player, and easily turn the tides of an intense battle.
All around, this Overdrive is fairly powerful, especially in team modes such as Assault, Control Points, and Siege, or in modes that have a large number of players within a short distance of each other. When properly timed, this Overdrive has the possibility of wiping out a series of players with ease, or even an entire team (if they are in a line or close).
Tips and Tricks~
Now that we've covered all the background information surrounding the new hull, let's discuss some tactics that are going to help you play extraordinarily with Ares, allowing you to earn a high placement in every or almost every Matchmaking battle you play in. Let's begin!
Turret Pairing:
First up, we need to pair a perfect turret with Ares. Without a good choice of turrets, your success in battles could be completely limited, so let's discuss a few options that will grant you both fun and victory when playing with the hull.
- Twins - This turret is a popular choice of those players that use both Titan and Mammoth, and for several good reasons. Firstly, the shots fired by this turret have a considerably rapid pace, so you don't need to speed across the map in order to pick off enemies in the opposing base. Secondly, Twins doesn't do the highest amount of damage per shot, but rather capitalizes off of long-term firing, so as long as you can survive for a good period of time, eliminations should come simply. And since Ares is also a heavy hull, there doesn't seem to be any reason why this turret wouldn't be a great choice.
- Smoky - Another popular choice of turrets amongst heavy hull users. We could say it is best to equip the 'Autocannon' Augment when using Smoky with Ares, which will basically transform it into Twins (as it deals a capitalized amount of damage over time), but with slight variation. All around, any Augment you put on this turret (or even without an Augment) will make it work, you just have to add a bit of skill to it.
- Striker - While using a heavy hull, it is quite easy to shoot off a salvo of rockets at your opponents without being destroyed (provided they don't hide behind cover). We could suggest using this specific turret only in maps with low amounts of obstacles though, that way you can send in a salvo of rockets at your enemies almost every time you try.
- Vulcan - If you have the 'Heat Immunity' Augment for Ares, this would be the recommendation. With Heat Immunity, you can shoot forever (or for a long time) with your Vulcan at no personal damage infliction cost at all. And if you pair this with Vulcan's 'Incendiary Band' Augment, you are looking at a deadly combination that doesn't involve too much skill. It could get boring or annoying or even painful to keep your finger holding on the spacebar though, so getting a glass cup or even a small stone to place on your spacebar would do the work for you; if you are not sure, believe it or not, this technique worked out wonders with the similar Mammoth hull.
- Gauss - Similar to Striker, using this turret on a heavy hull and in a map with low amounts of obstacles will allow you to get off several EMP (charged) shots using the 'Electromagnetic Salvo' Augment, which will do heavy amounts of damage to your opponents. The only downside I see to using this combination is that you can bet on your opponents raging at you in the battle chat for being a supposed "newbie camper"; so if you don't like being called hurtful names by your opponents, maybe this choice of turret isn't for you.
- Shaft - Last but not least, every camper's favourite turret: Shaft. Shaft is the perfect turret for a heavy hull user as it allows you to avoid close-range combat (a large weakness for slower hulls), and soak up the damage from various opponents, while still outputting damage on your opponents. This choice of turret is best in long-range maps such as Highways, Stadium, and Massacre, as it almost guarantees you won't have to engage in a close-range fight, while still making it fairly easy for you to slaughter off your opponents.

Drones~
Another important decision is what drone you should use to complete your choice of turret and hull combination, as well as your play-style. Let's review a few of the best options!
- Driver - Ares's Overdrive is one of the most powerful ones in the game, so it would be a solid decision to use a drone that is going to allow you to use this "superpower" more often, and Driver is the perfect choice for that. With this drone equipped, each elimination you make charges your Overdrive a higher percentage than it would if you didn't have it equipped. So you can now shoot more BFGs out of the giant mortar in the front of your tank. Further, this drone can be used regardless of whether you are a very aggressive or offensive player, or the one who likes to sit inside your team's base, and shoot at enemies from afar. In one line, if you can secure a high amount of eliminations, this drone will definitely be worth using.
- Booster - As listed in the most recent part of this article, many of the perfect turrets for this hull are long-range ones, that do a solid amount of damage. Unfortunately, a few of those turrets (mainly Striker and Gauss) don't do quite enough damage to fully eliminate your opponent in one shot, but fortunately enough, Booster is always here to help with that! To use this drone well with Ares, you will simply need to equip a long-range turret, and then do the icing on the cake: Go and aim at your opponent, but just before you shoot them (or just before a shot hits into their tank), you will need to activate your Double Damage, and it will instantly and significantly increase the amount of damage you do for a limited amount of time. Even if you have the stock Booster drone with no upgrades, it could still make a huge difference in the number of kills you can get.
- Saboteur - A high portion of heavy hull users only stay on defence, so this drone will be perfect for such players. With this drone equipped, each mine you place will place an additional number of mines (determined by the number of upgrades on your drone), supporting you to defend your base much easier. If you have this drone fully micro-upgraded, you will drop a total of 8 mines, which is clear enough to make sure no one will be able to escape your base with the flag, alive.
- Camper - Similar to the Saboteur drone, this is a great drone for camping (as the name suggests). This particular drone speeds up the cool-down of your supplies when your tank is at full health, allowing you to both activate supplies much faster, as well as place an extreme number of mines quickly. If you can convince one of your friends to group with you, and play as an Isida constantly healing you, you will be able to pump out a high number of mines for the amount of time it would normally take you to place a single mine, wait for it to reload, and place another.
- Crisis - Since most players probably don't have this drone, let's not go spending much time talking about how to use it effectively. If you do own it, however, you will already know about the incredible amount of extra speed you could gain by using this drone, and with a heavy hull, it's an awesome bonus for aggressive players that like close or mid-range combat - attacking. With this drone, you can easily capture flags, even with a heavy hull, so it could make up a great choice. The amount of supplies you have to use is a major drawback though, and something to take into consideration.
Tips~
Now that you know which turret and drone you want to use, here are a few tactics that could be very useful for you and your teammates to achieve success in battles:
- Never be afraid to jump off a bridge or ledge if you are losing a fight - You, almost guaranteed, won't flip doing this tactic, even if a Railgun or Shaft shoots you during your fall.
- Opposing team plants tons of mines? Try to go and blow the mines up for your team - You won't flip over as easily as your teammates on mines, and you can absorb the damage from several of them, so it could help your team capture a flag easily.
- Defense-mode ON - Heavy hulls aren't the best choice for attacking, so there's not much of a point in trying to do so. If you are an aggressive, action-hunting player, I just simply advise you to adapt to a more defensive playing style, or use a different hull altogether.
As long as you could follow these tips, let's be sure some great successes are going to follow you in every battle!
Anyways, that's it for this one! Hopefully, this helps you master the new 'Ares' hull, and we wish you an exciting time using it in battles. If you have any other questions, please leave them in the comments section that is available right down below this article, and one of our Consultants will help you out in no time!
Customer support service by UserEcho