How to use Gauss (Tips and Tricks)
Are you looking for a good guide that will explain how to play Gauss? If so, then you are in the right place! In this article, we will tell you everything you need to know so you can be victorious with this turret! Let's get started!
Always keep in mind that Gauss is a long range turret.
Firstly, this turret is a long range cannon - you can shoot your enemies from any distance. This capability should be used at its maximum, as you can shoot your enemies without being seen or shot back at (assuming that they are far away, and that they aren't using a long range turret).
Your reloading speed, and your special shot are key to leading your opponents to destruction. The reloading time is short enough - close to that of Smoky or (arcade mode) Shaft reloading time. Basically, If you're used to playing with these 2 turrets, you shouldn't be surprised by Gauss' cool-down and you will be able to use it at its best.
Gauss has a powerful secondary ability that lets you deal heavy damage to your opponents; by holding "space" and aiming at an enemy tank, you will see a target appear on their tank, showing that you are locking on to it. The red square is there to highlight and track the tank, no matter where they go. The circle is a countdown for the secondary ability; once the circle completes a full rotation you will unleash the "sniped" shot.
Your enemies won't see that coming...
The difference between Gauss, Shaft, and Striker, is that when you're charging your sniper shot, players cannot see that you're aiming at them. The developers decided to make a mechanical effect that shows that you're locking on with your special ability, instead of a laser, the only way for opponents to know that you're charging your ability is if they see your turret change( the back part of Gauss goes up) , which means they have to know where you are and actually see you.
Well, owning such power have some disadvantages, of course, and the main inconvenience of this turret is splash damage. This turret allows you to hit your opponent and your enemies who are near to the impact, this effect of splash damage increases when you're using your special shot, they're getting nearly the same amount of damage. But if you're to close you will also damage to yourself the same damage as you did to your opponents, the best way to minimize it, it's to wear a protection against Gauss, but don't worry if you don't own it or just simply don't want to use this, you can just take some distance with your enemies to don't be affected or receive the mini splash damage on your tank.
"Electromagnetic Salvo" Augment
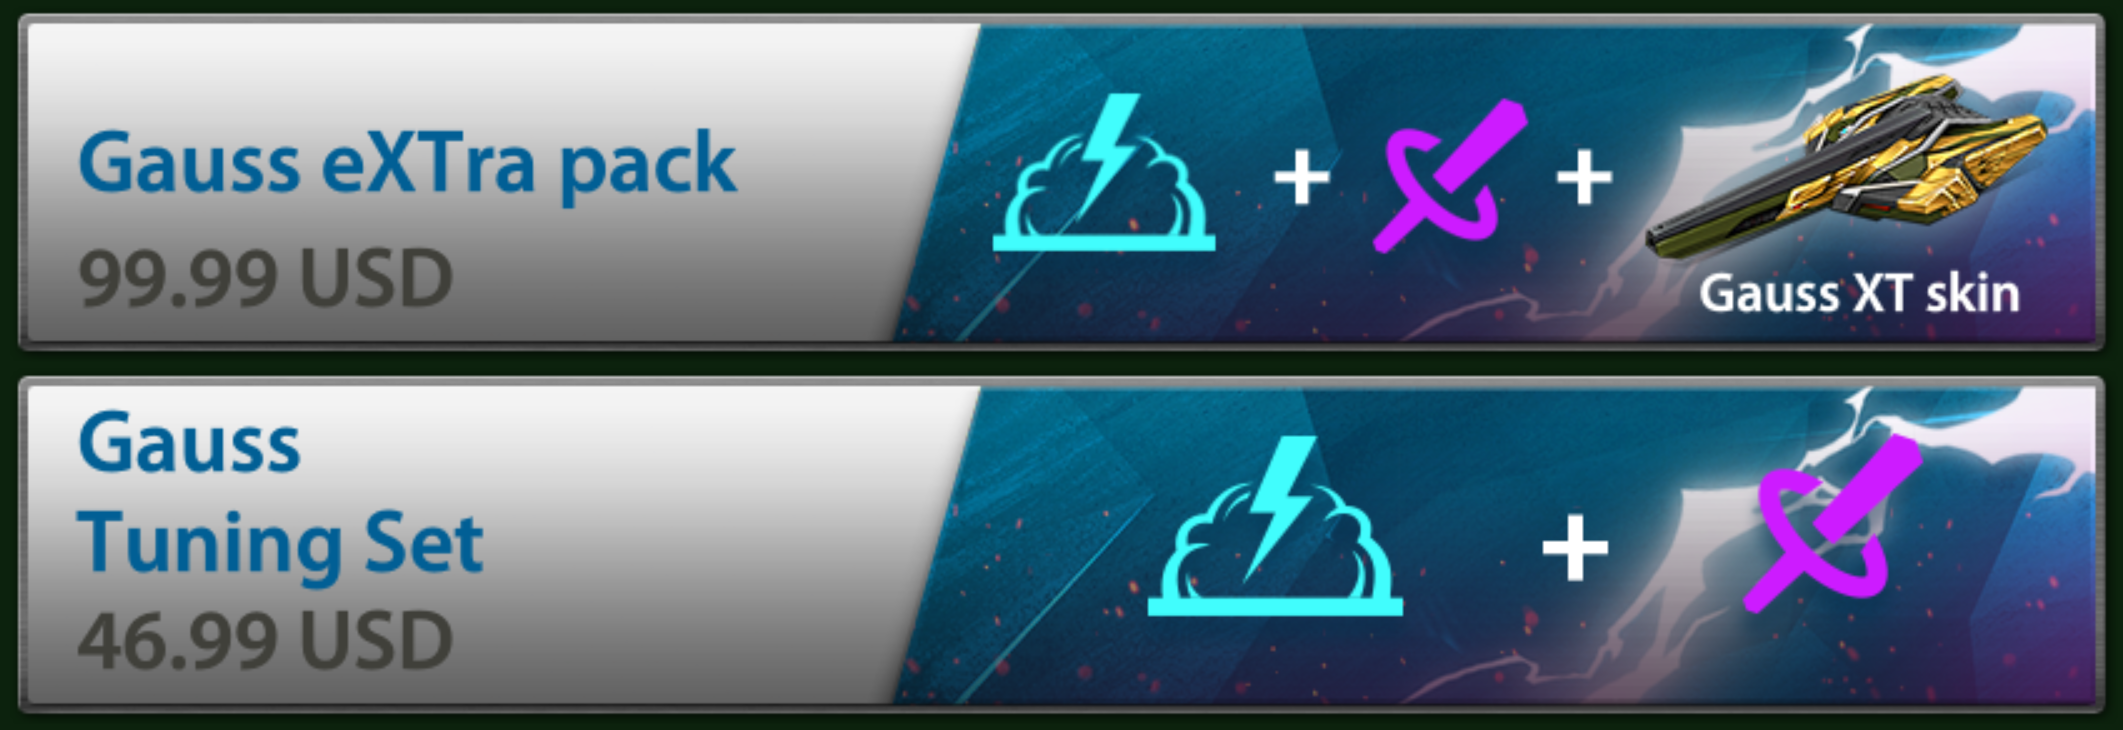
This augment is Gauss's first-ever augment, which was only available for purchase a part of the "Gauss eXTra pack" and "Gauss Tuning Set" special bundles:
This augments offers the following changes to the normal turret's mechanics:
- Decreased amount of damage when using the charged shot mode
- Faster reload time following a charged shot
- Charged shots cause enemies in the splash radius to lose all their supplies, and have to wait a short time before activating supplies again
With the characteristics of this augment being known, let's discuss a few different ways to use this augment most effectively.
Firstly, very unique, and very useful part of this augment is the special ability of removing all of an opponent's supplies with a charged shot. This unique ability works similarly to the Hunter overdrive, where it removes supplies, and makes the affected player wait a short duration before being able to use supplies again. This augment doesn't have the stunning mechanics of Hunter's overdrive, however. The damage of charged shots is also reduced to compensate for the added ability. When it comes to using this ability for the user's benefit, It is most useful to use charged shots whenever an opponent (or group of opponents) has at least two supplies activated. If an opponent only has one supply active, or none at all, charged shots may not be worth the time invested into the shot, unless the one supply active is Double Armor. It is completely up to the user whether to use a charged shot, or just use the quick-fire mode, though.
This augment's special ability:
As stated in the beginning part of this section of the article, the reload time after a charged shot is also much quicker than the factory-issued Gauss. This allows you to capitalize on the enemy not being able to have any active supplies, allowing you to eliminate them much quicker. If you can find your enemy in a wide open area, with no obstacles for them to hide behind, and you use a charged shot, you can almost guaranteed kill your enemy very quickly afterwards.
In case you either own this augment, and constantly use the charged shot mode, or you are someone constantly finding yourself losing supplies to the charged shots of someone using this augment, you may want to be aware of the amount of time supplies are disabled directly following a charged shot. In the example below, you can see that all supplies are disabled (not just the ones you have activated at the time of taking a charged shot) for roughly four to five seconds. Anyone stunned by this augment is very vulnerable for several seconds, so if you find yourself in the same situation, you should immediately try to find cover, that way the person using the augment can't eliminate you.
Timing of Supply Cooldowns:
"Adrenaline" Augment

As long as you follow the information provided in this section of the article, whether you are using one of these augments, or you encounter someone using one of them, you should be able to easily outsmart your opponents, and find yourself in a better situation than them. Good luck in your battles!
Customer support service by UserEcho